Imaging Severe Hand Trauma
This page includes case studies and discussion on a selection of patients who presented with severe hand trauma. These cases include some technique points that may have a more general application.
Types of Injuries
Degloving
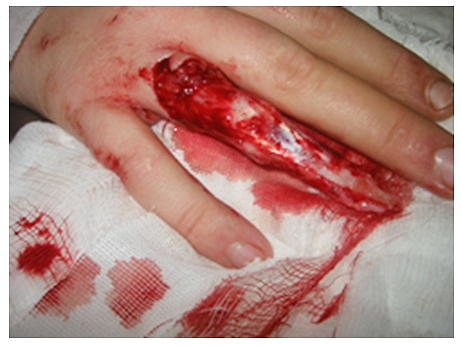
source: unknownA degloving injury is one in which the patient's superficial tissues have been torn along superficial tissue planes in a manner akin to removing a glove.
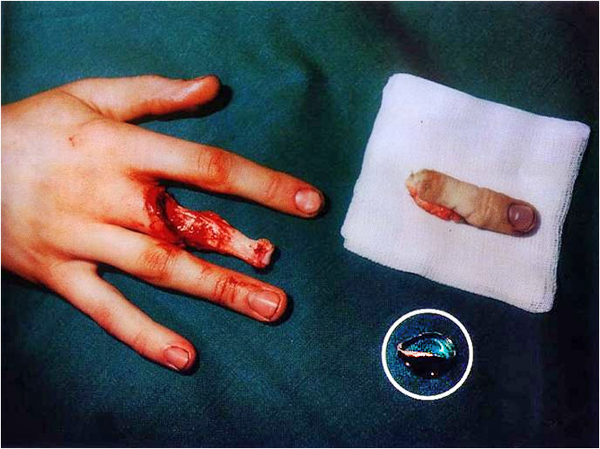
source: unknownThis patient's finger has been amputated with an associated degloving injury. Note the injury was caused by a considerable force applied to the patient's ring (shown)
<a class="external" href="http://community.livejournal.com/morbid_oddities/13605.html" rel="nofollow" target="_blank">http://community.livejournal.com/morbid_oddities/13605.html</a>Degloving injuries have a well deserved reputation for being particularly visually unappealing. These patients are commonly referred for radiography to assess any underlying bony injury.
The radiographer has a number of challenges.It is important to consider the reaction of a relative/carer/parent who might be accompanying the patient. I have seen patient's deal very well with their injuries but the relatives faint like dominoes.
- from a patient care perspective, it is undesirable for the for the radiographer to be reeling at the sight of a patient's injury. It is an important part of the student's clinical placement to develop the constitution to deal professionally with this type of injury (and worse). The radiographer who instructs a student to be involved in imaging this type of injury is not necessarily motivated by bad intentions. Equally, if you consider that it is beyond you and you may deal with it poorly (including fainting), it would be prudent to advise the qualified radiographer.
- Blood-soaked bandaging will potentially produce considerable artifact and should be removed if possible (seek advice first). Before doing so, a number of important factors should be considered.
- how will you react?
- how will the patient/relatives react?
- will you do any harm?
- Is the injury bleeding profusely?
- How will you protect the cassette/IR?
If you do remove the bandaging, re-apply them (or otherwise cover the would) to prevent it from drying out.
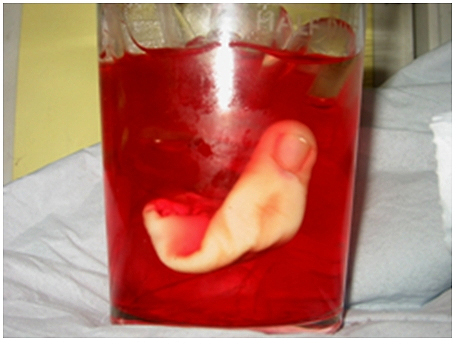
<a class="external" href="http://community.livejournal.com/morbid_oddities/13605.html" rel="nofollow" target="_blank">http://community.livejournal.com/morbid_oddities/13605.html</a>You would normally be required to image any amputated bony anatomy (ideally, not whilst it is in the glass). It is important to label/annotate the digit (in this case), particularly if there are multiple amputations.
CASE 1
Presentation
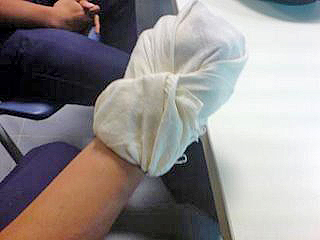
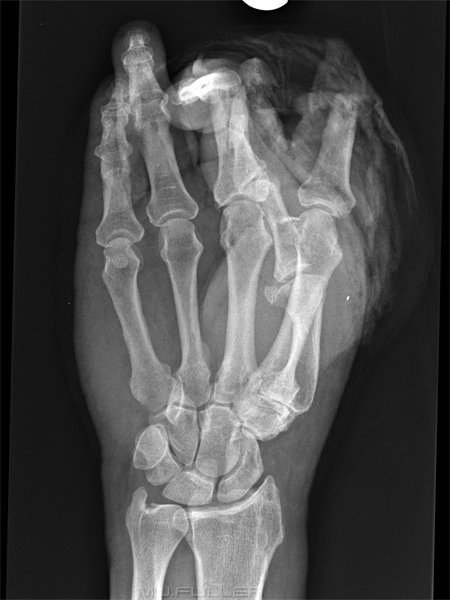
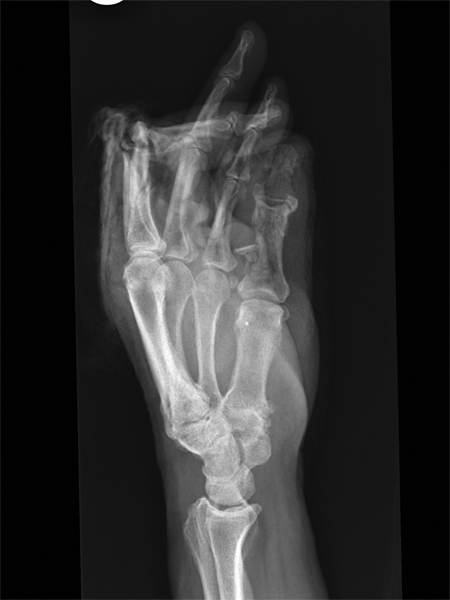
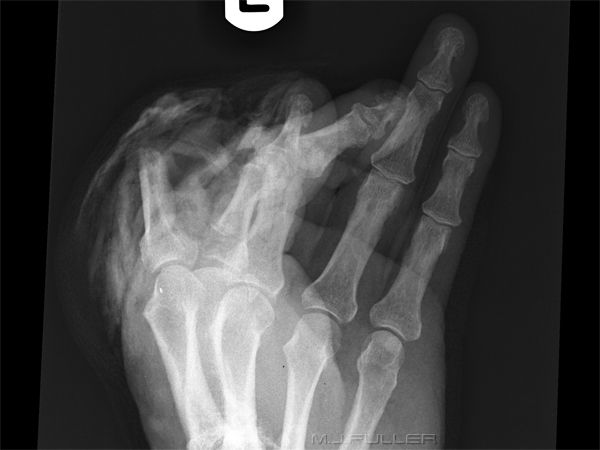
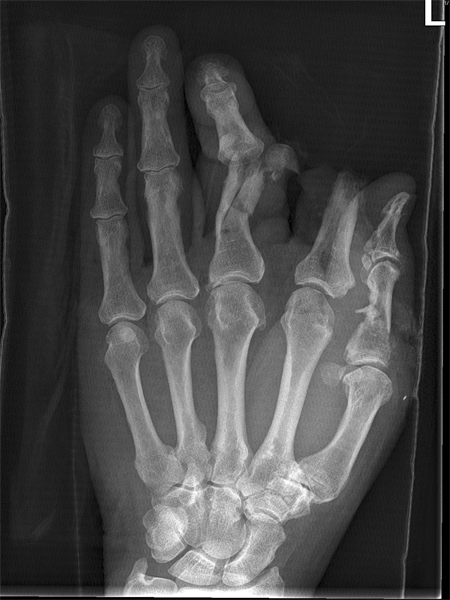
ImagingThis patient presented to the Emergency Department following an accident in which the patient's hand made contact with an operating circular saw. The patient was referred for hand radiography.
What the Surgeon Wants to Know
This is without any doubt a surgical case. The surgeon will want to know what bony and joint injuries have been suffered in this accident. Any soft tissue information would be a welcome bonus.
Imaging
Image 1
Image 2
Image 3
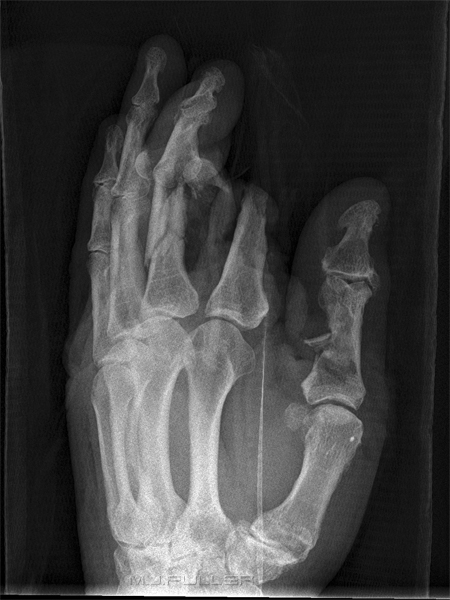
This is lateralish. The thumb has a saw-cut to the proximal phalange and, once again, the 4th and 5th digits appear to have suffered no bony injury.
Image 4
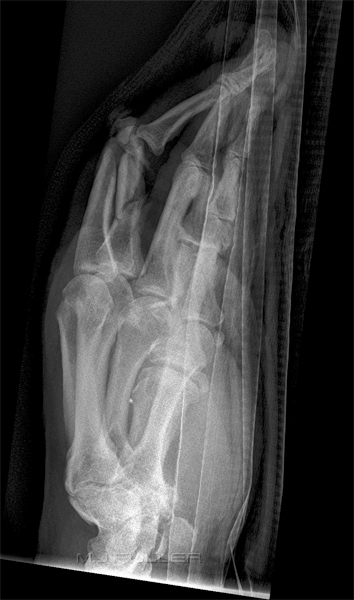
---intermission----At this point the radiographer gave up in despair. The imaging of the 4th and 5th digits had been spectacular, but the state of the other digits was not entirely clear. The referring doctor reviewed the images and decided that improved imaging was required of the first three digits. The doctor decided that a nerve block would be performed and the imaging redone with all of the bandaging off.
Image 5
Image 6
The hand is in a conventional oblique position.
Image 7
Discussion
The point of this case study is that there were 7 images taken when there could have been four (or even 3). It could be argued that once the first image was reviewed, it was clear that the flexed fingers would mitigate against obtaining a clear view of the anatomy. The imaging following the arm-block was very successful.
CASE 2
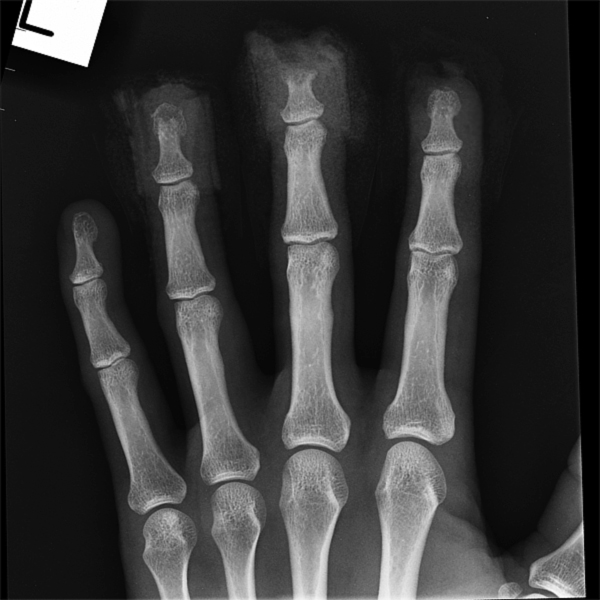
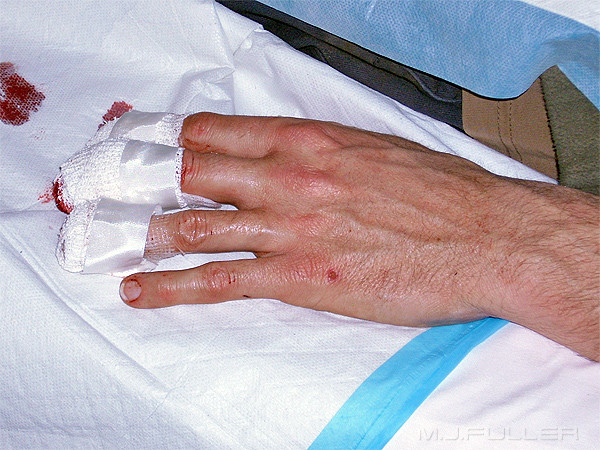
ImagingThis patient was using a router when his hand came into contact with the rotating cutter. He presented to the Emergency Department with a bandage wrapped around his hand.
The initial PA hand image suffered from the expected finger overlap issues. Attempts to remove the bandage resulted in considerable blood loss from the fingers. The patient was returned to have the fingers bandaged individually. This approach was used because it was known that the injuries were restricted to the distal phalanges.
CASE 3
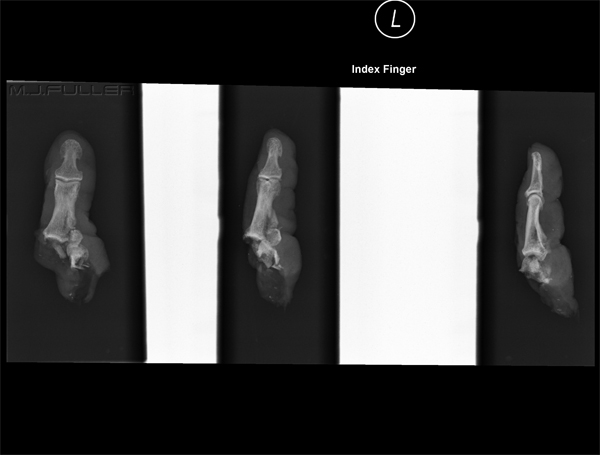
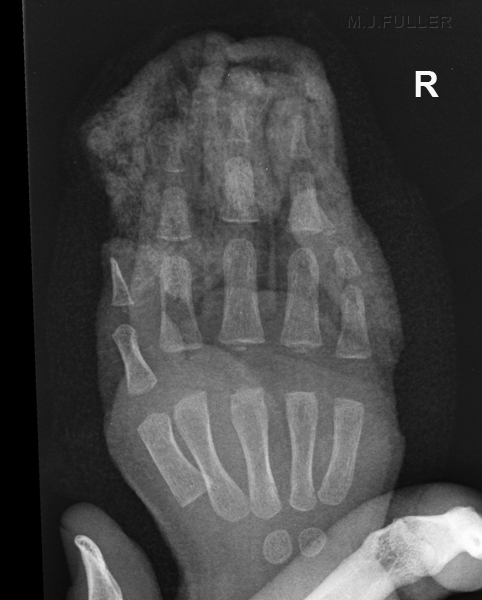
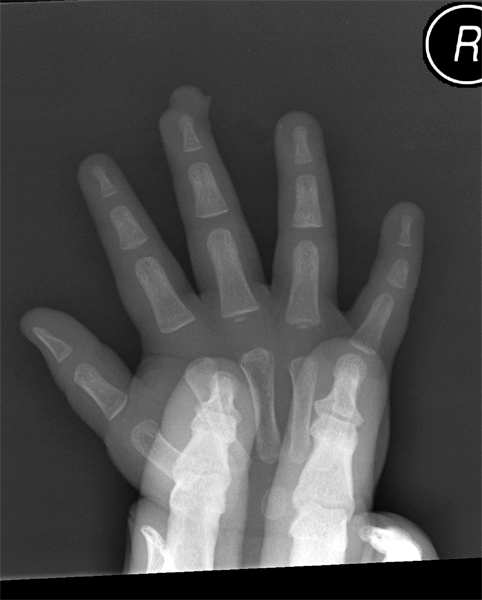
ImagingThis 18 month old child presented with trauma to several of his distal phalanges. These types of injuries are commonly seen in children when their fingers are caught in a door frame while the door is being closed.
... back to the Applied Radiography home page
... back to the Wikiradiography home page
