Paediatric Chest Immobilisation Devices
AcknowledgementThe options for paediatric chest radiography are basically erect or supine. Supine paediatric chest radiography has some significant limitations. Whilst paediatric imaging departments have been able to dedicate the resources (equipment and training) to achieving high quality paediatric chest radiography, some non-paediatric institutions that cater for occasional paediatric patients have resorted to developing innovative solutions. This page considers the options for paediatric chest radiography.
The content on this page draws heavily from various books, articles and photographs by Catherine Gyll.
The Commercial Paediatric Chest Positioning Aids
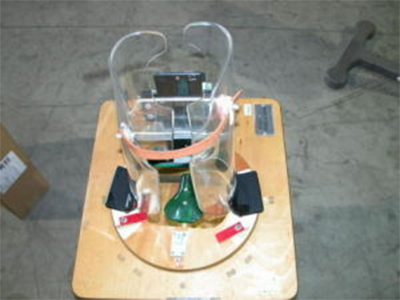
The Pigg-o-stat
<a class="external" href="http://www.nationwidechildrens.org/GD/Applications/News/mediafiles/pigostat.jpg" rel="nofollow" target="_blank"> </a>
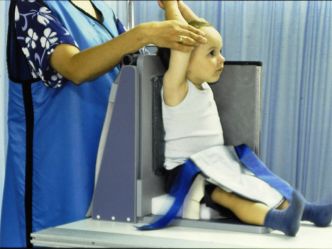
<a class="external" href="http://www.nationwidechildrens.org/GD/Applications/News/mediafiles/pigostat.jpg" rel="nofollow" target="_blank">http://www.nationwidechildrens.org/GD/Applications/News/mediafiles/pigostat.jpg</a>I have never used a pigg-o-stat so I am going to let Jeremy Enfinger do the talking...
"If you have an absolutely uncooperative patient that requires immobilization, the pigg-o-stat is the method of choice for radiographers. Most come with different sized adjustable flanks and you may want to sneak a peak at your patient before bringing them into the room to estimate the appropriate size.
If you've never used one or seen one, they look like some sort of dark-age torture device, which they could easily turn into if you let the patient sit in them too long. You simply place them into the seat with arms above their head and close the flanks. Make sure to lock them in place. If you have all of this set up in advance, the patient should be in and out in just a few seconds"You can visit Jeremy's entertaining and informative website at
<a class="external" href="http://bloggingradiography.blogspot.com/2007/05/pediatric-chest-x-ray.html" rel="nofollow" target="_blank">http://bloggingradiography.blogspot.com/2007/05/pediatric-chest-x-ray.html</a>
The manufacturers website lists the following features
- Seat platform turns on bearings.
- Cassette carrier has adjustable horizontal and vertical movement for precise positioning of film
- The scale in degree readings on table top ensures exact duplication of positions for re-check examinations.
- Adjustable seat in center of table top with openings for patients legs.
- Seat platform can be rotated horizontally to any degree and position
- Form-fitting body, head and arm supports of transparent plexiglass are provided.
- Adjustable for patients from infants to 3-1/2 years of normal size for age
- Lead shield has adjustable conventional markers and adjusts up and down for various examinations.
- Elimination of position and immobilizing problems makes it easier to make exposure at proper stage of respiration.
- Spring-balanced cassette holder accommodates any size cassette needed.
- Device is easily cleaned and sterilized.
<a class="external" href="http://www.piggostat.com/new/about_our_products.asp" rel="nofollow" target="_blank">http://www.piggostat.com/new/about_our_products.asp</a>
I have never known a radiographic positioning device to polarise opinion like the pigg-o-stat. I found this to be the case many years ago when I was considering options for paediatric chest imaging, and if the comments on <a class="external" href="http://bloggingradiography.blogspot.com/2007/05/pediatric-chest-x-ray.html" rel="nofollow" target="_blank">Jeremy Enfinger's blog</a> are any indication, the jury is still out on this one!
<a class="external" href="http://images.dotmed.com/cgi-bin/size.pl?t=2&a=3&i=663449_2.jpg" rel="nofollow" target="_blank">http://images.dotmed.com/cgi-bin/size.pl?t=2&a=3&i=663449_2.jpg</a>
The DIY Devices
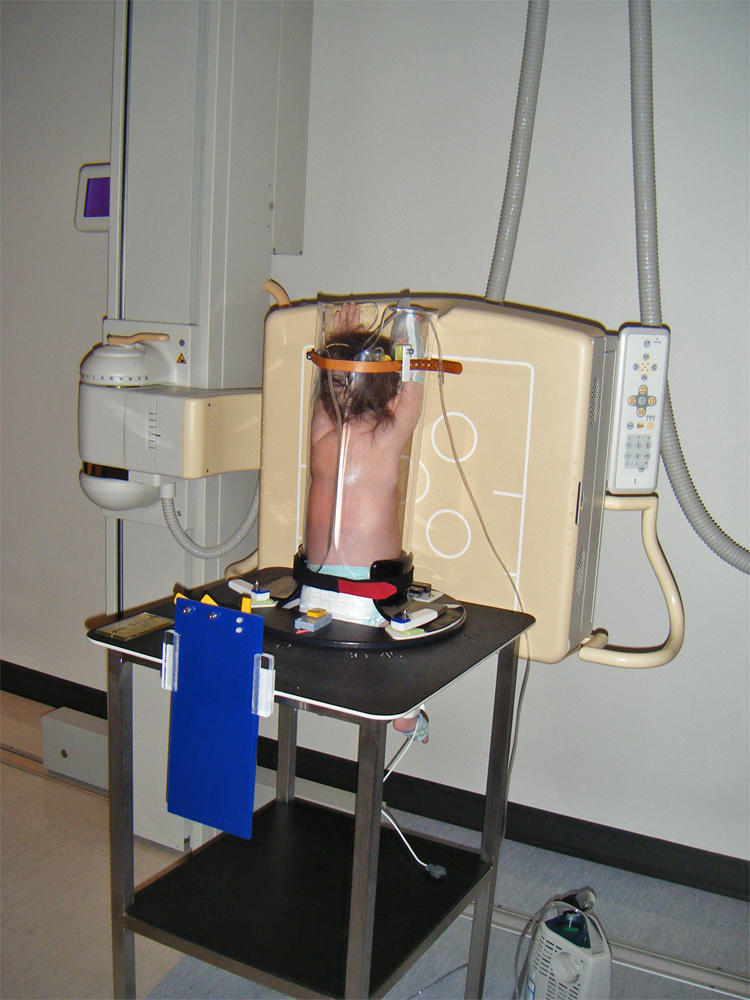
<a class="external" href="http://recia.files.wordpress.com/2010/04/torture-machine-for-chest-x-ray.jpg" rel="nofollow" target="_blank">http://recia.files.wordpress.com/2010/04/torture-machine-for-chest-x-ray.jpg</a>Child positioned for PA erect chest radiography using a pigg-o-stat and Philips DR
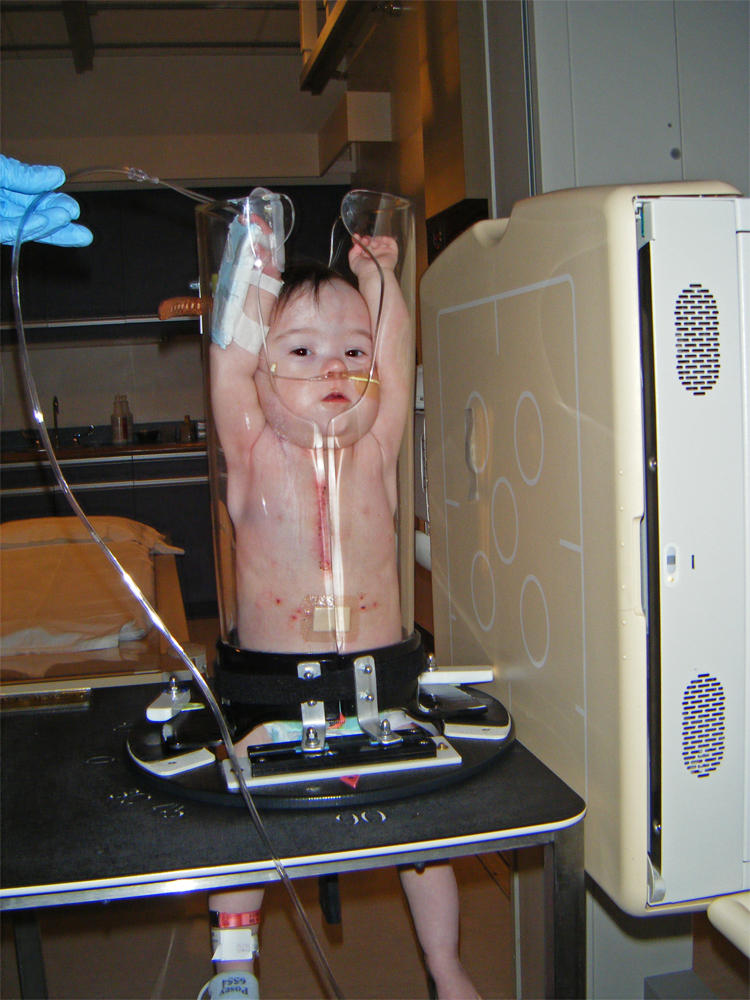
<a class="external" href="http://recia.files.wordpress.com/2010/04/torture-machine-2.jpg" rel="nofollow" target="_blank">http://recia.files.wordpress.com/2010/04/torture-machine-2.jpg</a>Child positioned for lateral erect chest radiography using a pigg-o-stat and Philips DR
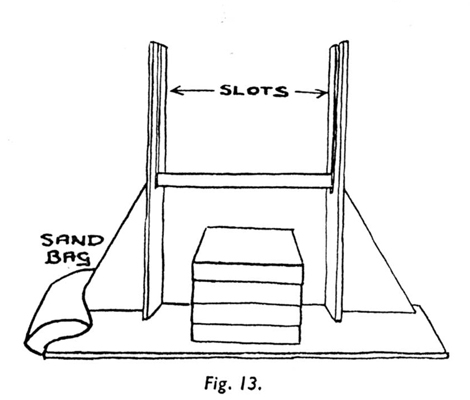
I have seen a few home-made paediatric chest radiography positioning devices in my travels. These are a few of them (including my own).
Papua New Guinea
The Fuller Chair
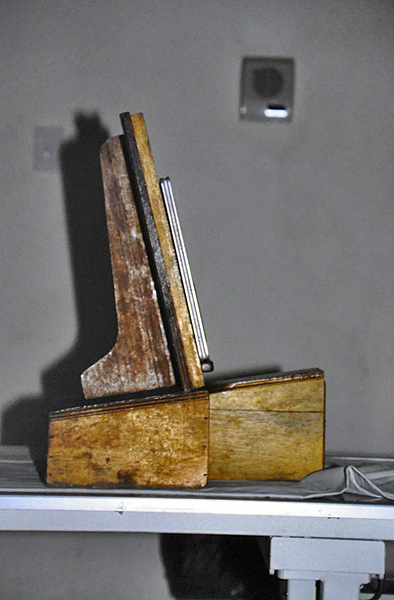
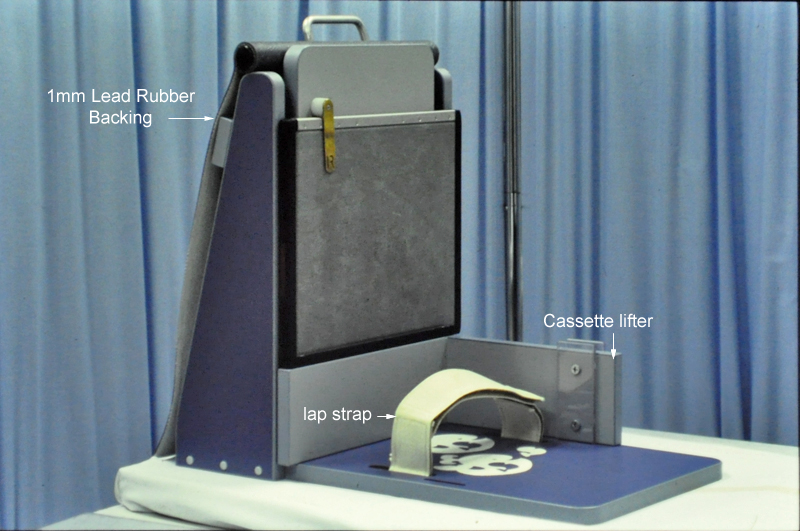
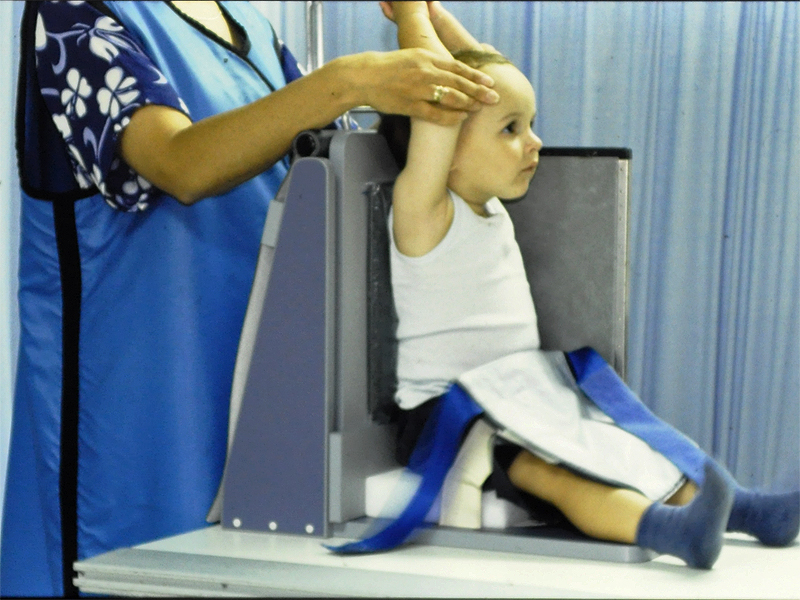
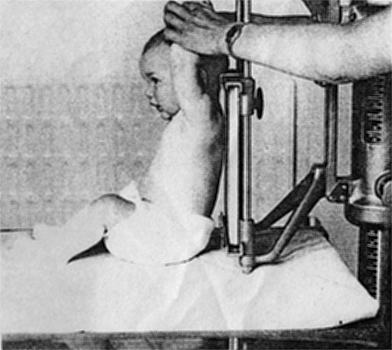
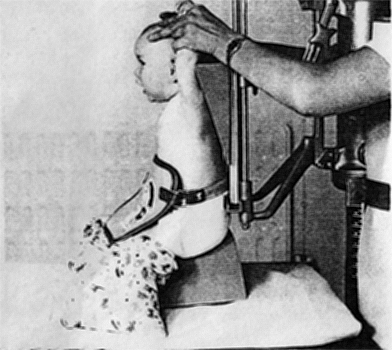
This was my own answer to years of frustration with supine paediatric chest radiography. It also addressed most of the limitations that I had found in DIY paediatric chest 'chairs' that I had used previously. The Fuller chair had the following features The major disadvantage of this type of chair is that it needs to be used with a sponge under the child's bottom. The child's hips should be higher than their knees.
- hook and loop lap strap to keep child in the chair
- hidden magnetic strip in the backboard to hold the side-marker which also prevented the cassette from falling forwards.
- Three different heights of cassette lifter for different sized children
- 1mm lead backing to protect the operator
- Facility for lateral chest imaging
- cleanable hardwearing surface
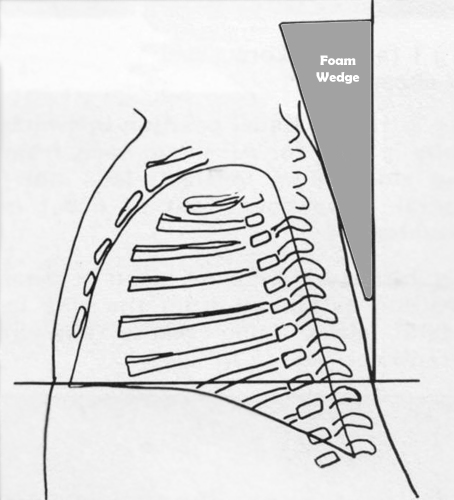
I have put together a separate page of Fuller Chair engineering drawingsThis photograph shows the Fuller Chair setup for lateral chest radiography. The child does not have to move between AP and lateral projections. I found that it was better to use a 15 degree wedge sponge behind the child rather than the sponge shown in the photograph. The 15 degree sponge tended to lean the child forwards allowing more scope for lifting the child's chin up. It also helped to minimise the tendency to produce an apical projection.
The Published Inhouse/DIY Devices
Catherine Gyll's Generic Design for 1- 6 months Old Babies
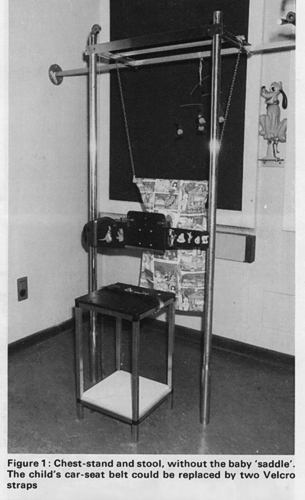
Westminster Hospital Chest Stand
Preventing the Lordotic Projection
Notes on Paediatric Chest Radiography
- Children over the age of 5 years are usually able to be positioned in a PA erect position for chest radiography. (some 4 year olds will be sufficiently compliant for PA/AP erect chest radiography)
- There is very little difference between PA and AP chest radiography in children (Caffey 1978, and Hochschild and Cremin, 1975)
- There is very little difference between left and right lateral chest radiography in children
- AP Chest radiography has several advantages over PA chest radiography in children
- The radiographer can watch the child's breathing in order to expose on full inspiration
- It is easier to hold a child straight and still
- The child can watch the tube being centred and the beam collimated without turning around
- The child's arms should be held against the side of the child's head with elbows flexed and pointing forwards.
- an 18 x 24cm is suitable for children up to about 2 years
- an 24 x 30cm cassette is suitable for children up to about 7 or 8 years
- movement of the abdomen rather than the chest is watched to ensure exposure on full inspiration
- Exposure time should be less than 0.02 seconds
- A paediatric lead rubber apron should be employed for gonad protection for the child
- The adult holding the child should be protected by at least 0.5mm lead equivalent
(Catherine Gyll, Noel Blake, and A Thornton. Paediatric Diagnostic Imaging, 1985, p4,John Wiley and Sons, New York)
- It is undesirable to position the child/baby with the legs horizontal for chest radiography- some kind of seat is preferred such that the child's hips are higher than his/her knees
- When examining children over the age of 3 it is useful to have the child practice taking a deep breath before the exposure.
Case 1
Case 2
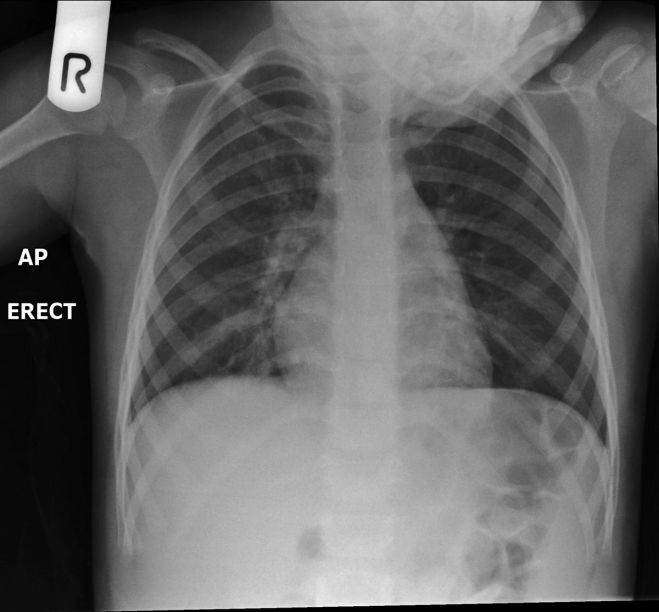
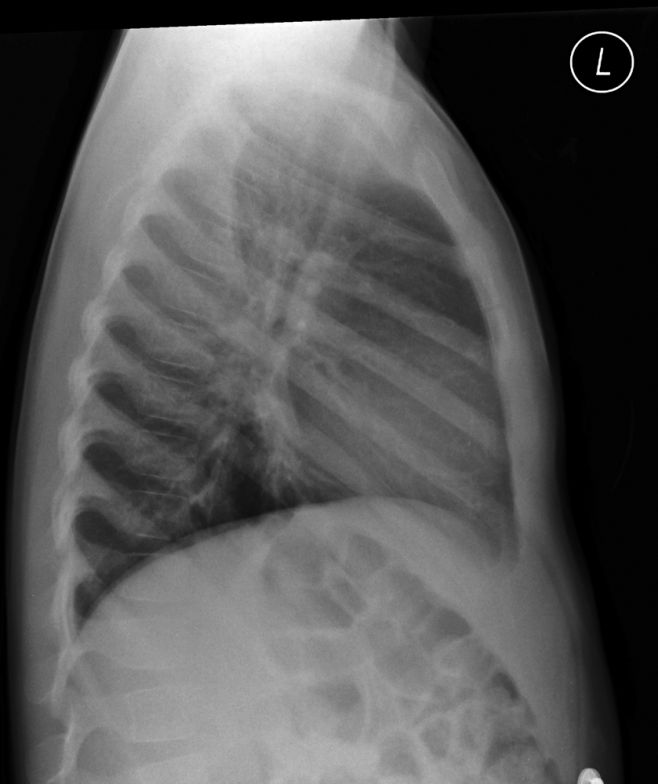
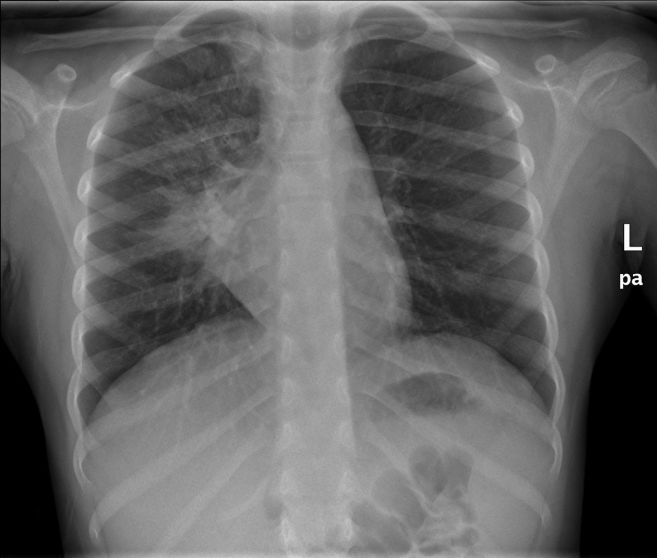
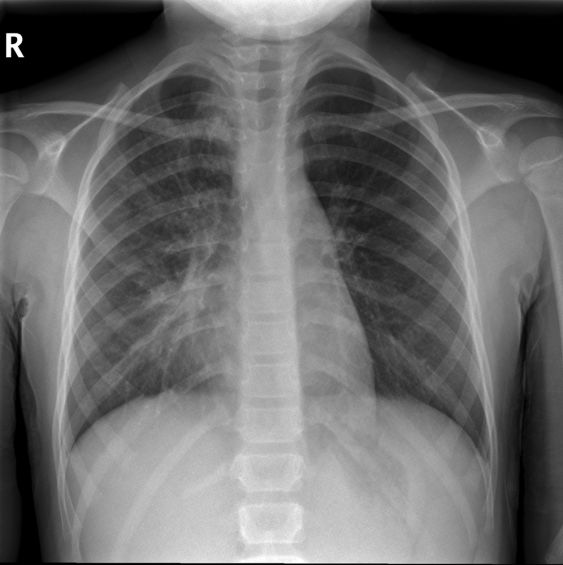
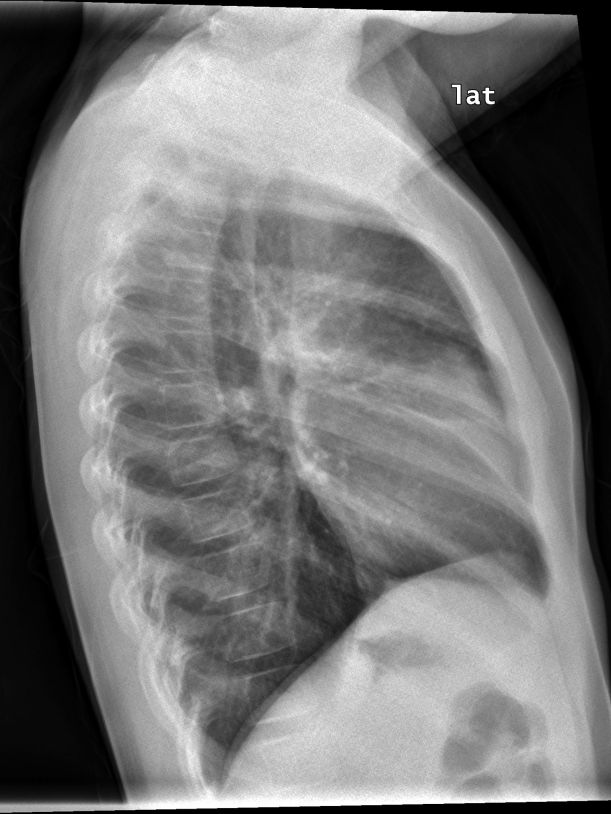
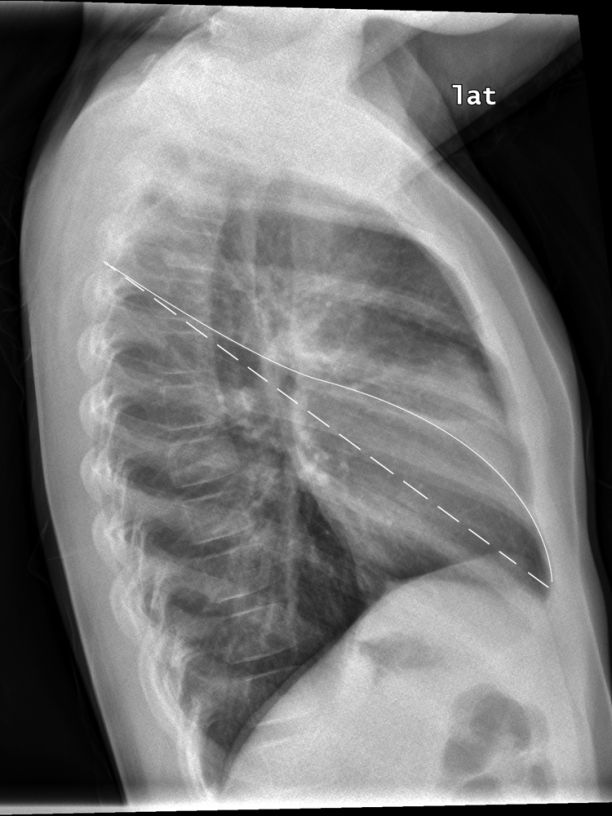
This 6 year old girl presented to the Emergency Department with a temperature of 39 degrees. She was assessed and referred for chest radiography
Comment
This case illustrates the vital link between a radiographer's image interpretation skills and their radiographic skills- it is largely about knowing when to repeat and when not to repeat. The original AP erect chest image demonstrates an abnormal pattern that you would not expect in a child who presents with a high temperature. Common pathologies and patterns of pathology occur commonly and they are looked for first. It was the combination of pattern recognition skills and image evaluation skills that led the radiographer to the conclusion that the patient's pathology had not been demonstrated correctly. The repeat AP erect chest allows for the easy recognition of RML and RUL disease- it is a pattern that is easily recognisable in a correctly positioned AP/PA chest.
... back to the Wikiradiography home page
... back to the Applied Radiography home page
