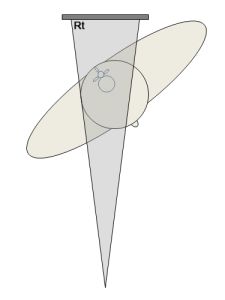
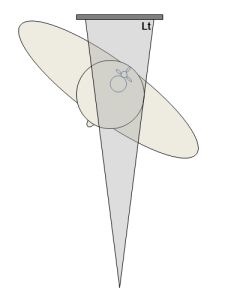
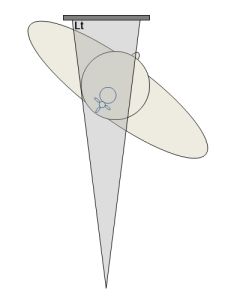
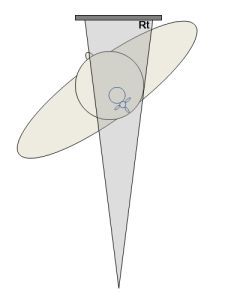
Oblique Cervical Spine Technique
AnatomyOblique views in radiography tend to be problematic. The common questions are
- Which way do I oblique the patient?
- How much do I oblique?
- What is the anatomy demonstrated?
- AP or PA?
- How do you label the images?
- Where do I centre the beam?
- What FFD should I use?
- How much do I angle the beam?
- What exposure technique should be employed?
This page is dedicated to answering some of these questions
Why is the Oblique View Important?
<a class="external" href="http://www.hawaii.edu/medicine/pediatrics/pemxray/v5c02.html" rel="nofollow" target="_blank">
http://www.hawaii.edu/medicine/pediatrics/pemxray/v5c02.html</a>
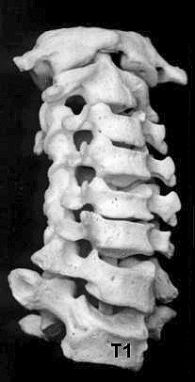
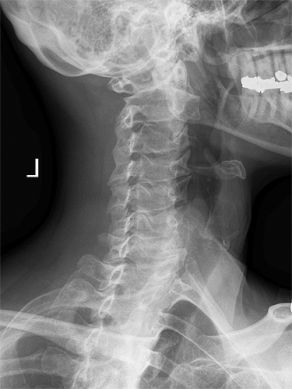
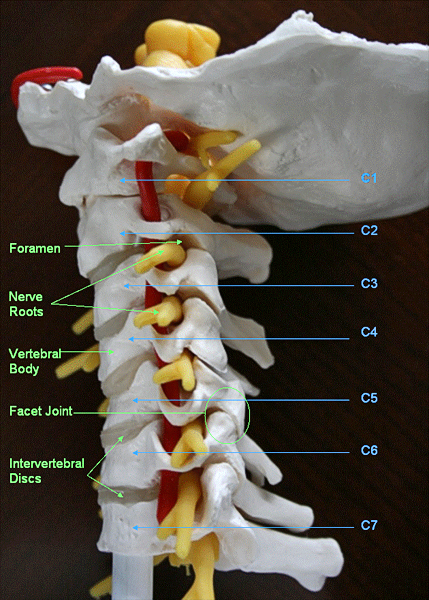
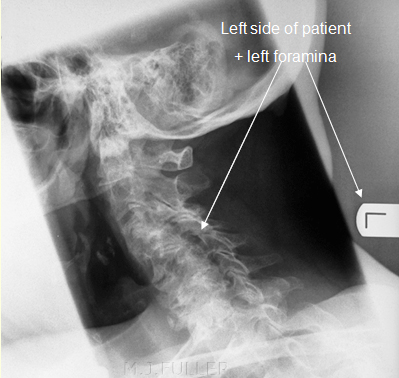
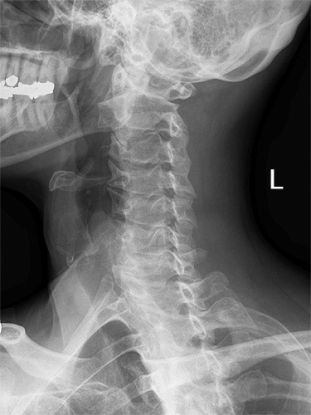
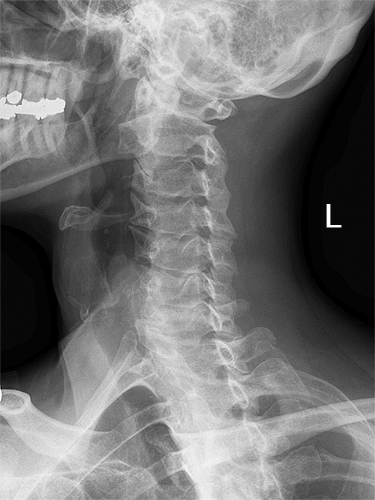
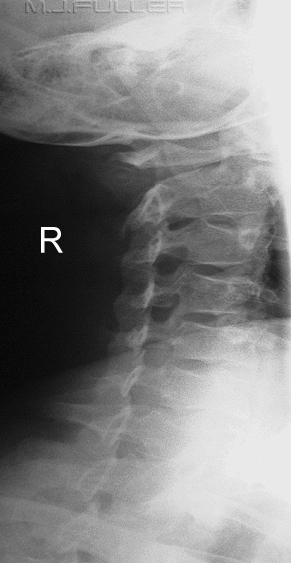
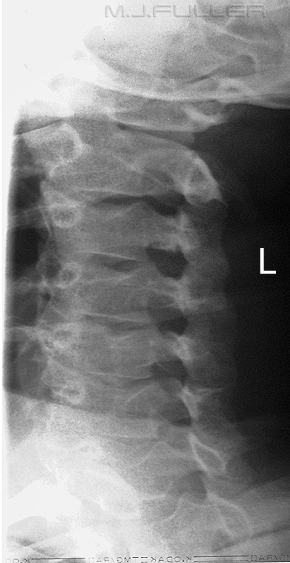
Oblique Cervical Spine TechniqueThe oblique view of the cervical spine can be important in patients with pain and/or altered sensation in their upper limbs. This can be caused by pressure on the nerves which exit the cervical spine through the intervertebral foramina. The oblique view shows the intervertebral foramina formed by the inferior notch of the pedicle of the vertebrae above and the superior notch of the pedicle of the vertebrae below.
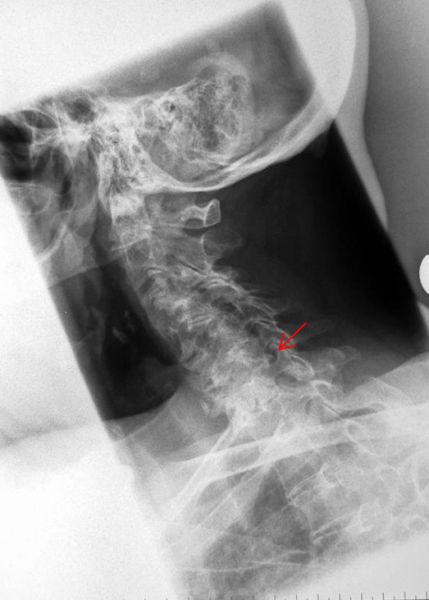
The presence of osteo-arthritis in the unco-vertebral articulations of the lower cervical spine frequently produces pressure on the nerve-roots lying in the intervertebral foramina. This is a common cause of brachialgia in middle age. Oblique radiographs of the cervical spine are necessary if the condition is to be confirmed radiologically. <a class="external" href="http://www.journals.elsevierhealth.com/periodicals/jfrad/article/PIIS0368224256800304/abstract" rel="nofollow" target="_blank">http://www.journals.elsevierhealth.com/periodicals/jfrad/article/PIIS0368224256800304/abstract</a>
<a class="external" href="http://www.vabrainandspine.com/EdSpine.htm" rel="nofollow" target="_blank">http://www.vabrainandspine.com/EdSpine.htm</a>The cervical nerve roots can be seen in this model exiting through the intervertebral foramina Patient with severe degenerative disease. Osteophyte impingement of intervertebral foramen arrowed
Oblique cervical spine views can be performed erect or supine and AP or PA.
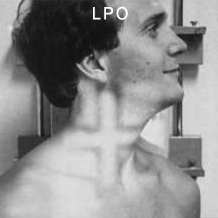
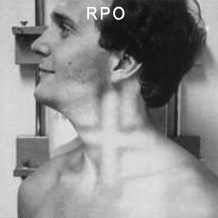
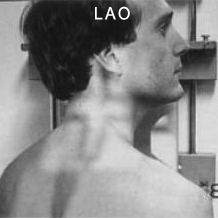
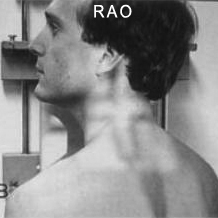
The Labelling Convention
PA Technique
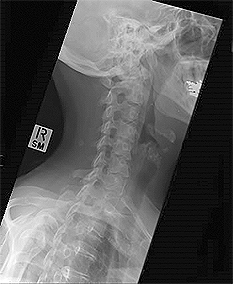
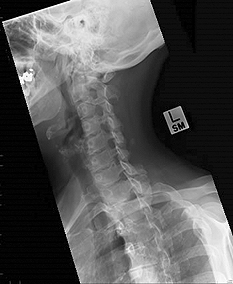
The PA technique tends to be the most confusing because the image is flipped horizontally for viewing
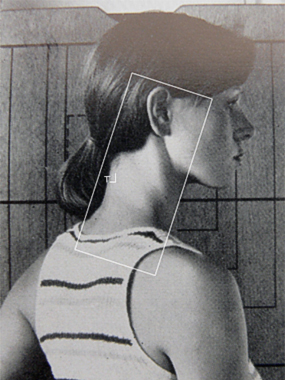
For the left oblique the patient is positioned like this. Image prior to horizontal flipping (note the positioning is PA oblique and the side marker is PA) After horizontal flipping of image
Which way do I oblique the patient?
- always do both obliques- left and right (either AP or PA)
How much do I oblique?
- 45 degrees with the patient's head in the lateral position
What is the anatomy demonstrated?
- aim to include all of the cervical spine anatomy
AP or PA?
- your choice- consider which technique is easier and safer for the patient
How do you label the images?
- see above
Where do I centre the beam?
- Cone to include all of the cervical spine anatomy and the centre point will look after itself
- Note that the cervical spine is not in the 'centre of the neck' in the lateral projection- it is a posterior neck structure
What FFD should I use?
- 180cm or 6 ft
CommentHow much do I angle the beam?
- 15 degrees caudal for PA technique and 15 degrees cephalic for AP technique
What exposure technique should be employed?
- 70 - 75 kVp, short exposure time to minimise movement unsharpness
What Went Wrong?
Trauma Obliques of the Cervical Spine
The oblique projection of the cervical spine is either a routine view or a supplementary view in many Emergency Departments. Whilst this is a relatively easy examination in an ambulant non-trauma patient, a special approach is required in a trauma patient who cannot be moved. This page considers two approaches to the problem and a useful positioning aid.
Technique 1
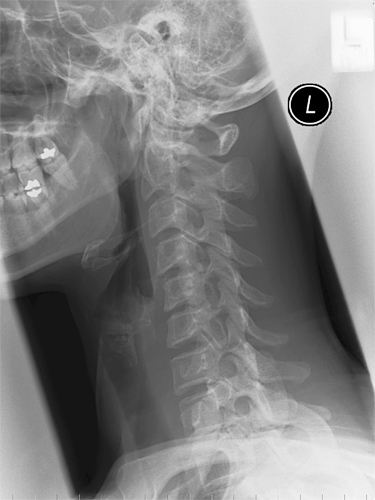
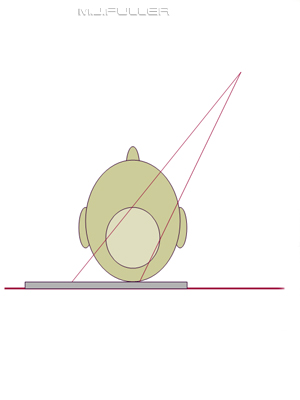
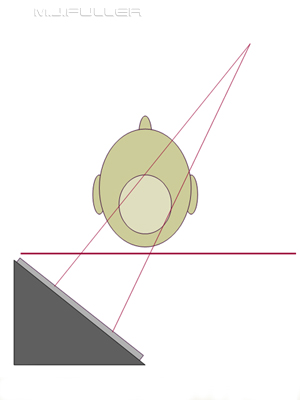
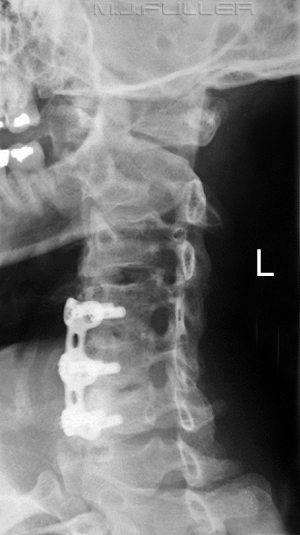
This technique is a non-grid technique in which the X-ray cassette is placed on the table top. The X-ray tube is angled 45 degrees as shownThe image is distorted, but does provide valuable visualisation of the cervical facet joints and intervertebral foramen
Technique 2
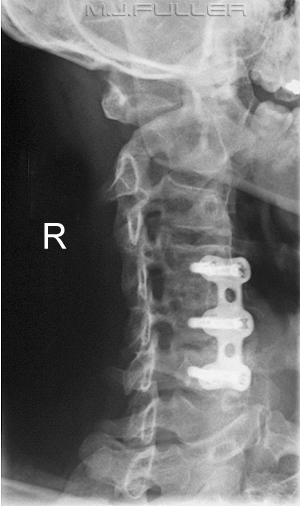
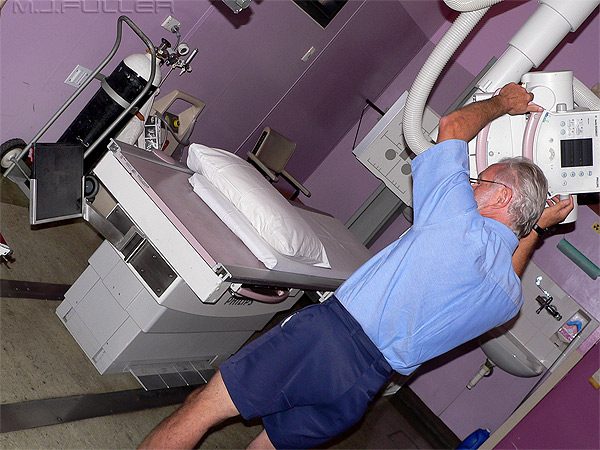
This technique is a grid or non-grid technique in which the X-ray cassette is placed under the X-ray table at an angle of 45 degrees. The X-ray tube is also angled 45 degrees as shownAgain, the image does provide valuable visualisation of the cervical facet joints and intervertebral foramen. Note that the superimposition of the mandible over the cervical spine bony anatomy was unavoidable in this case.
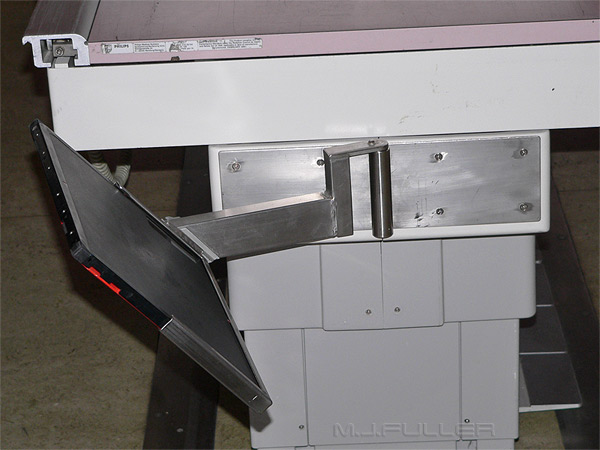
The Tostevin Cassette Holder
This cassette holder can be found at the Royal Perth Hospital, Western Australia and was designed by John Tostevin. This must be the ultimate accessory for trauma oblique cervical spine radiography.
Oblique cervical spine radiography is difficult to master at first. With practice you will find that you can cone the X-ray beam more tightly. With confidence you may also find that you can use a 10 x 8 inch (18 x 24cm) cassette rather than a 12 x 10 inch (24 x 30cm) cassette.
...back to the Applied Radiography home page
